


When it comes to home maintenance, one of the tasks that often gets overlooked is making sure your floor brackets are in good shape. Floor brackets play a vital role in providing stability and support to a variety of structures, including shelves, cabinets, and even furniture. Over time, these brackets can become loose, damaged, or misaligned, leading to potential safety hazards. In this blog, we’ll walk you through the process of repairing your floor brackets, ensuring your home remains safe and functioning properly.
Understanding Floor Brackets
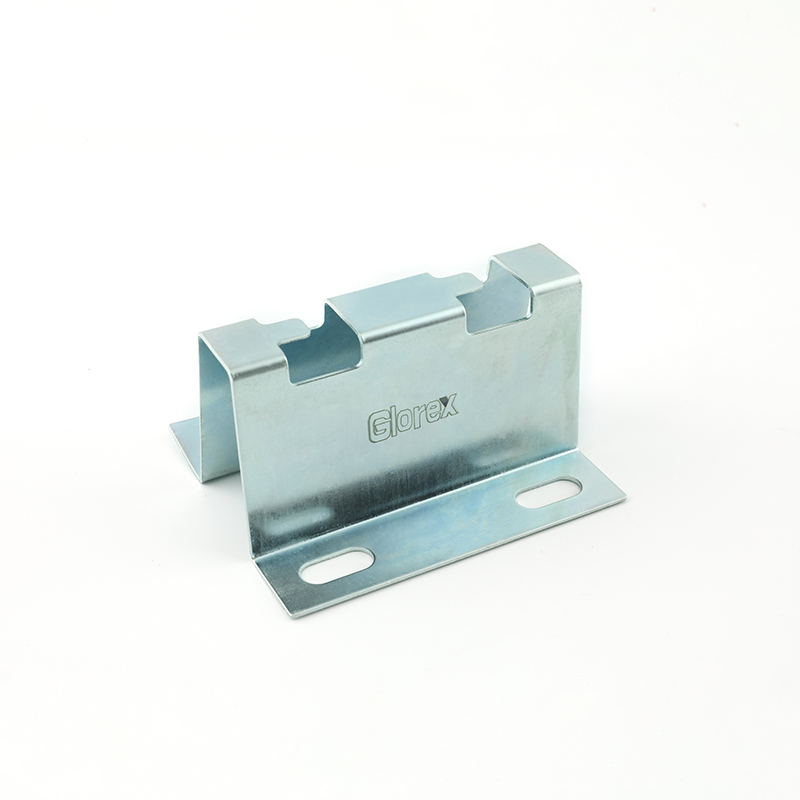
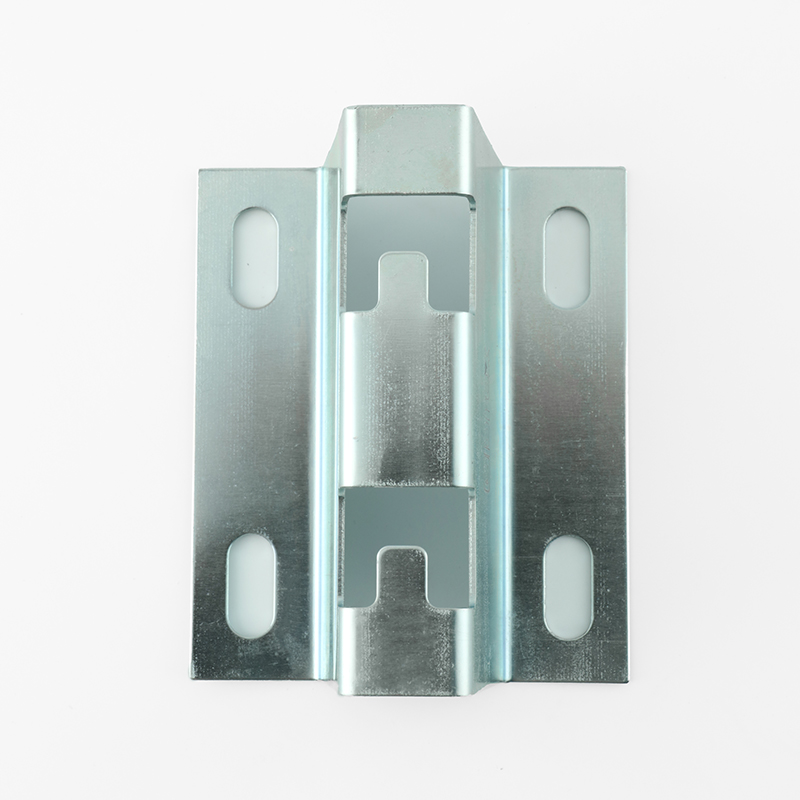
Before you begin repairs, it's vital to understand what floor brackets are and what they are used for. Floor brackets are metal or wooden supports that help keep items on the floor and prevent them from tipping over or collapsing. They are often used for shelving units, furniture, and even architectural projects. When fix floor brackets are damaged, they can cause instability, which can be dangerous, especially in high-traffic areas.
Signs that your floor stand needs repair
Recognizing the signs that your floor stand needs attention is the first step in the repair process. Here are some common indicators:
1. Visible Damage: Check metal brackets for cracks, bends, or rust. Wooden brackets may show signs of bending or cracking.
2. Loose: If the stand feels wobbly or moves with minimal force, it needs to be repaired.
3. Misalignment: If the brace is no longer aligned with the structure it is supporting, further damage may result.
Tools and Materials Required
Before you begin repairing your floor stand, gather the necessary tools and materials:
- Screwdrivers (flat head and Phillips)
- Hammer
- Level
- Replace screws or anchors (if necessary)
- Wood glue (for the wooden supports)
- Goggles and gloves
Step-by-step guide to securing the floor bracket
Step 1: Assess the damage
Start by carefully inspecting the floor mounts. Determine if they can be repaired or if they need to be replaced entirely. If the damage is minor, such as loose screws, you may only need to tighten them or replace them.
Step 2: Remove the bracket
Use a screwdriver to carefully remove the screws that secure the bracket. If the screws are stripped or difficult to remove, you may need to tap the screwdriver with a hammer to get a better grip. Once the screws are removed, gently pull the bracket away from the surface.
Step 3: Repair or Replace
If a bracket is damaged but still usable, consider reinforcing it with wood glue or adding extra screws. For metal brackets, if they are bent or rusted, you may need to replace them entirely. If you are replacing a bracket, make sure you purchase one that matches the original's size and weight capacity.
Step 4: Reinstall the bracket
Once you've repaired or replaced the bracket, it's time to reinstall it. Use a level to make sure it's straight before screwing it back into place. If you use new screws, make sure they are the right size and type for the material you're working with.
Step 5: Test stability
Once the bracket is reinstalled, test its stability by gently applying pressure. Make sure it feels secure and can support the weight it's expected to bear. If everything looks good, you've successfully secured your floor bracket!
In conclusion
Repairing your floor supports may seem like a daunting task, but with the right tools and a little patience, it can be accomplished quickly. Regular maintenance of your home's structural supports is essential for safety and longevity. By following this guide, you can ensure that your floor supports remain in good condition, providing your home with the support and stability it needs. Remember, if you feel unsure about the repair process, always consult a professional for help. Happy repairing!
Post time: Jan-13-2025


