


One often-overlooked task in home maintenance is keeping your floor supports in good condition. Floor supports play a vital role in providing stability and support for various structures in your home, from shelving units to furniture. Over time, these supports can become loose, damaged, or even break, creating a potential safety hazard. In this blog, we'll guide you through the process of repairing your floor supports to ensure your home remains safe and secure.
Understanding Floor Brackets
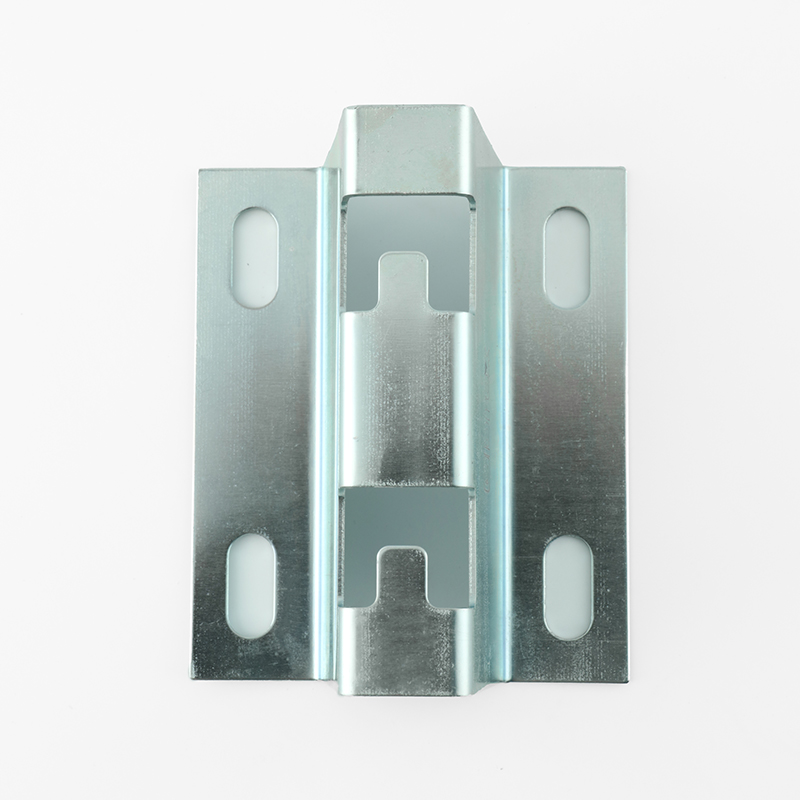
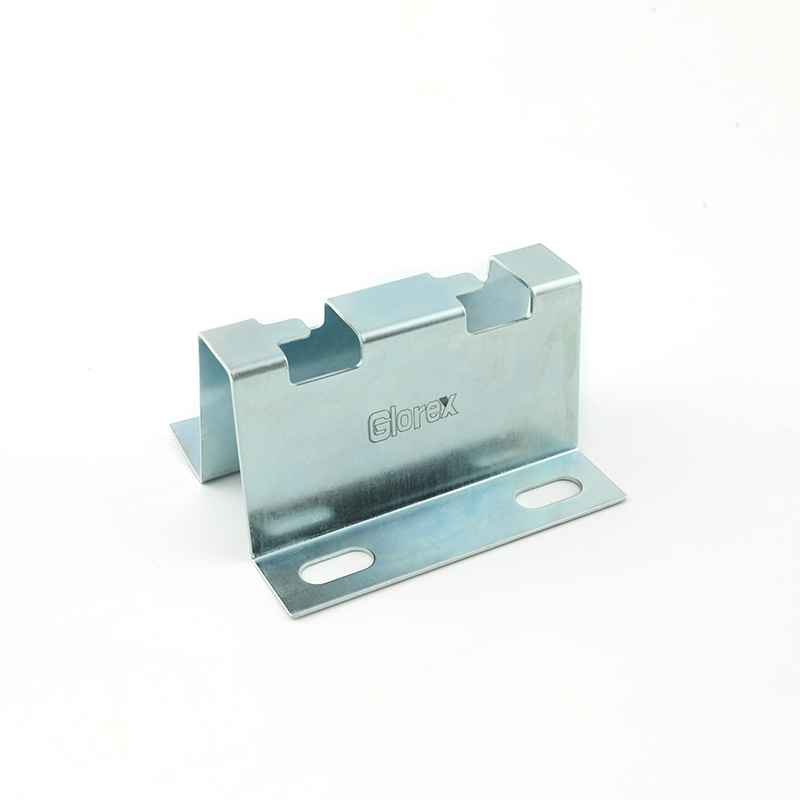
Before you begin repairs, it's important to understand what Fix Floor Brackets are and their purpose. Floor brackets are metal or wooden supports that hold up shelves, furniture, or other structures. They are often installed at the base of a wall or underneath furniture to provide additional support. If you notice that your shelves are sagging or your furniture is wobbling, you may need to repair or replace your floor brackets.
Required Tools and Materials
To install the floor stand you will need a few tools and materials. Here is a quick list:
- Screwdrivers (flat and Phillips)
- Drill bit
- Replace screws or anchors (if necessary)
- Level
- Tape measure
- Safety goggles
- Hammer (if using wall anchors)
Step-by-step guide to securing the floor brackets
Step 1: Assess the damage
The first step in repairing a floor bracket is to assess the extent of the damage. Check to see if the bracket is loose, bent, or completely broken. If it is loose, you may just need to tighten the screws. If it is bent or broken, you will need to replace it.
Step 2: Remove the bracket
Using a screwdriver or drill, carefully remove the screws that secure the bracket. If the screws are stripped or difficult to remove, you may need to drill a new screw hole with a drill. Once the screws are removed, gently pull the bracket away from the wall or furniture.
Step 3: Check the area
After removing the bracket, inspect the area for any damage. Check for cracks in the wall or floor, and check that the screws or anchors are still secure. If the area is damaged, you may need to repair it before installing the new bracket.
Step 4: Install the new bracket
If you are replacing a bracket, align the new bracket with the existing hole. Use a level to make sure it is plumb before screwing it into place. If the old hole is damaged, you may need to drill new holes and use wall anchors for stronger support. Once aligned, tighten the screws using a drill or screwdriver.
Step 5: Test stability
After installing a new bracket, always test its stability. Gently press down on the shelf or furniture it's supporting to make sure it can handle the weight without wobbling or sagging. If everything feels secure, the floor bracket is installed successfully!
Maintenance Tips
To prevent future problems with your floor stands, consider these maintenance tips:
- Check the stability of the bracket regularly and tighten the screws if necessary.
- Avoid overloading shelves or furniture that rely on floor stands for support.
- Inspect the bracket for signs of rust or wear, especially in wet conditions.
In conclusion
Repairing your Fix Floor Brackets may seem like a daunting task, but with the right tools and a little patience, it can be done easily. By following this step-by-step guide, you can keep your home safe and ensure your shelves and furniture are adequately supported. Remember, regular maintenance is key to preventing future problems, so make it a habit to check your floor brackets regularly. Good luck with your repair!
Post time: Jul-16-2025


